Quick guide on how to configure a C2 server with Digital Ocean, Cloudflare and Havoc
It is important to understand that there is no evasion technique and best practice of OPSEC in this tutorial. This is just a “how to setup a basic C2 server”
What is a C2 server
A C2 server, also known as a Command and Control server, is a type of server used by attackers to control and communicate with compromised computers.
The C2 server serves as the central point of command and control for the attacker, allowing them to send instructions to the compromised machines on what actions to perform. The C2 server can also receive data and information from the machines, such as logs, keystrokes, or screenshots, to be used for further attacks.
C2 servers are often used in advanced persistent threat (APT) attacks, where the attacker wants to maintain long-term access to a compromised network or system. To avoid detection, the C2 server may use various techniques to disguise its location.
What this tutorial contains
- How to create a droplet on digital ocean
- How to setup a DNS record on cloudflare that points to your server’s IP address
- How to install Havoc teamclient and teamserver
The setup presented in this tutorial was made from Kali and a Debian x64 server. The commands and configuration presented in this tutorial may not work in different situations.
Prerequisite
- Valid cloudflare account
- Valid digital ocean account
- A domain
Creation of the droplet
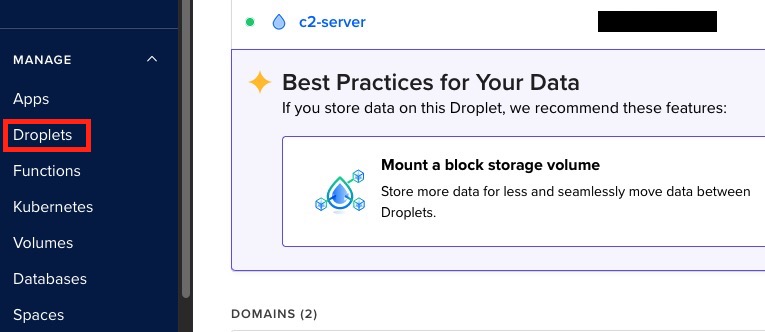
- Go on digital ocean, and go to the droplet tab on the left
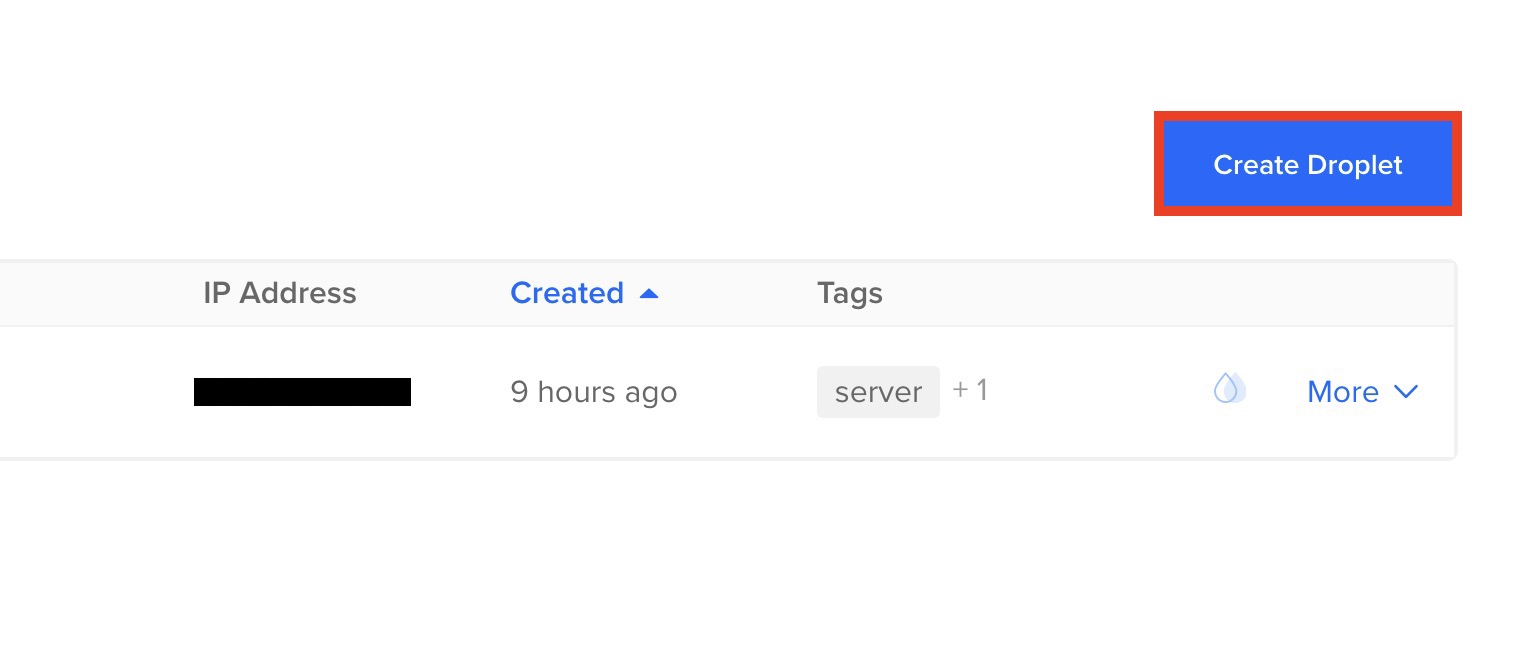
- Click on create a droplet
- Choose a location
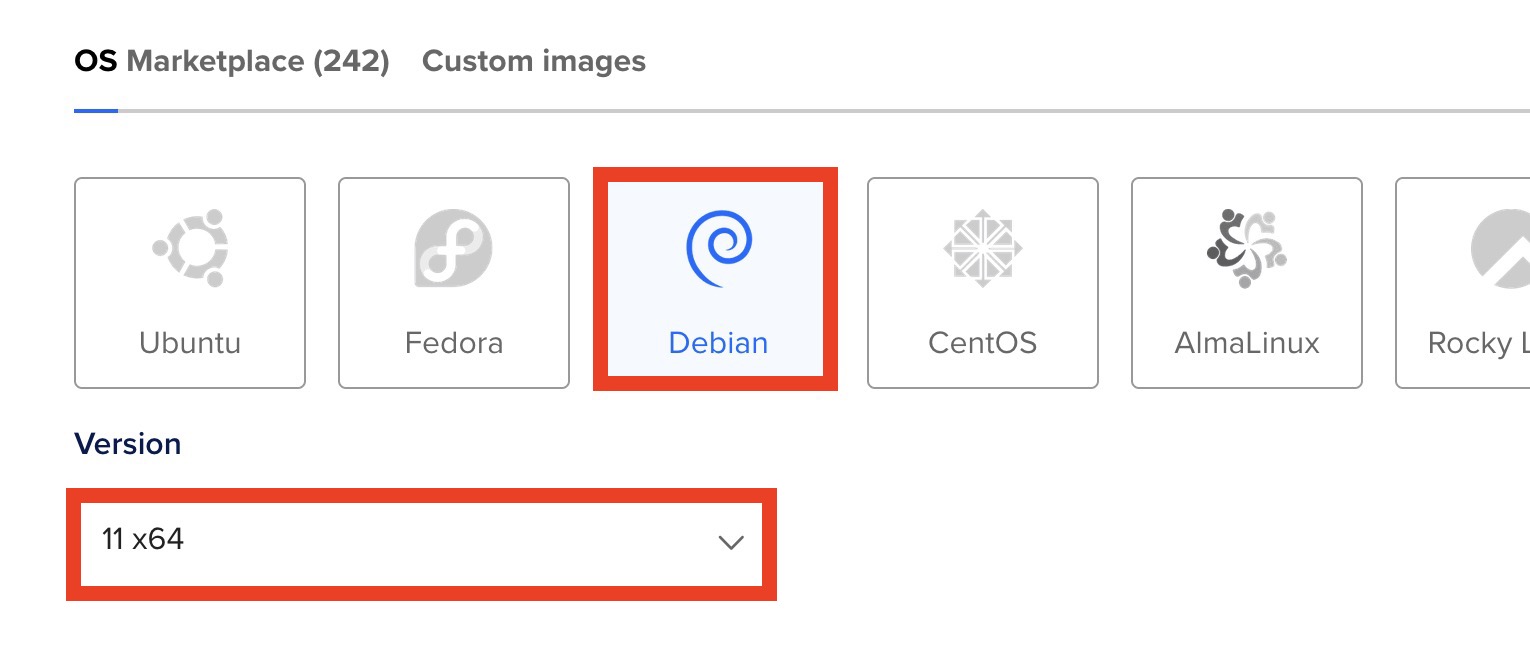
- Choose the OS, I suggest to use Debian 11 x64
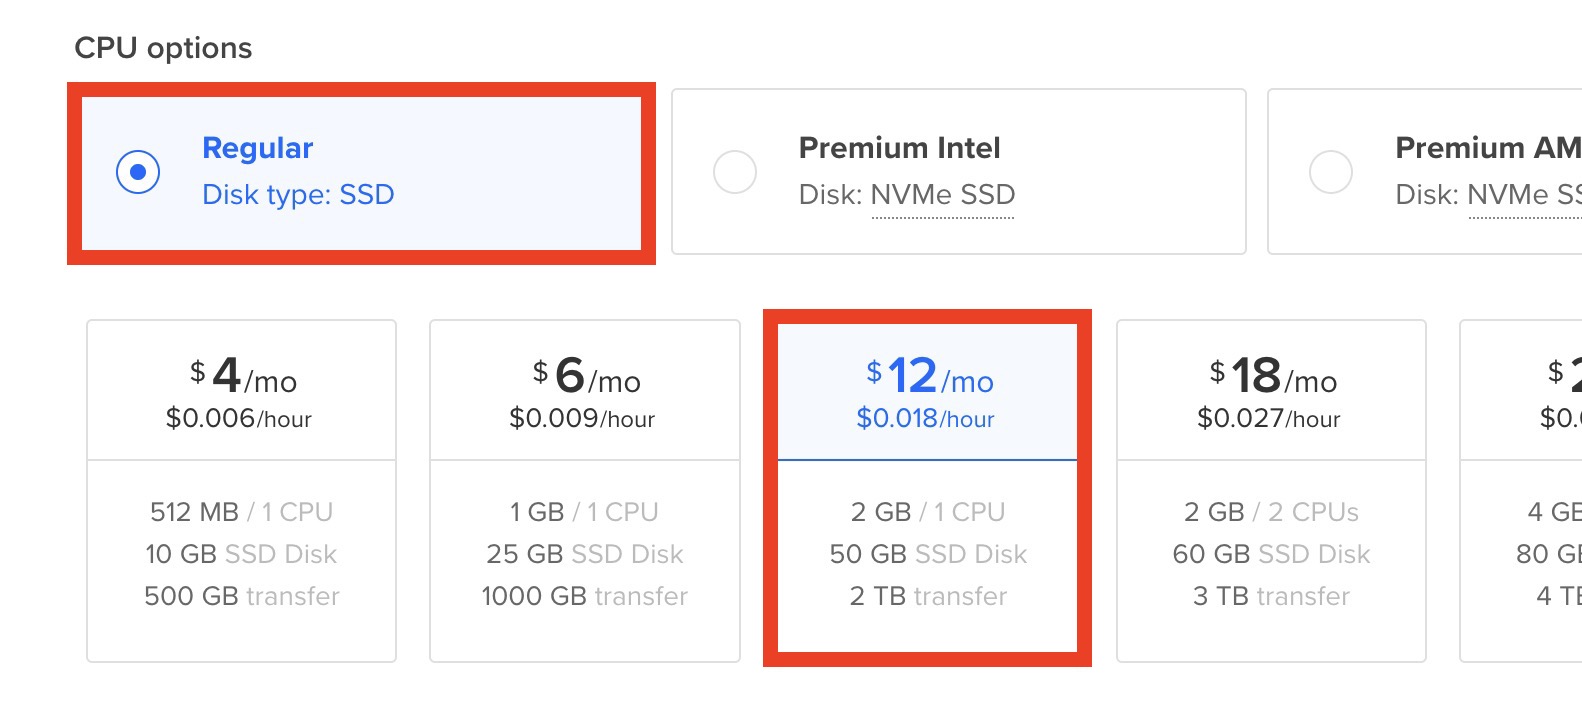
- For the CPU option you can choose Regular and take the droplet a 12$/mo with 2gb of ram, it should be more than enough
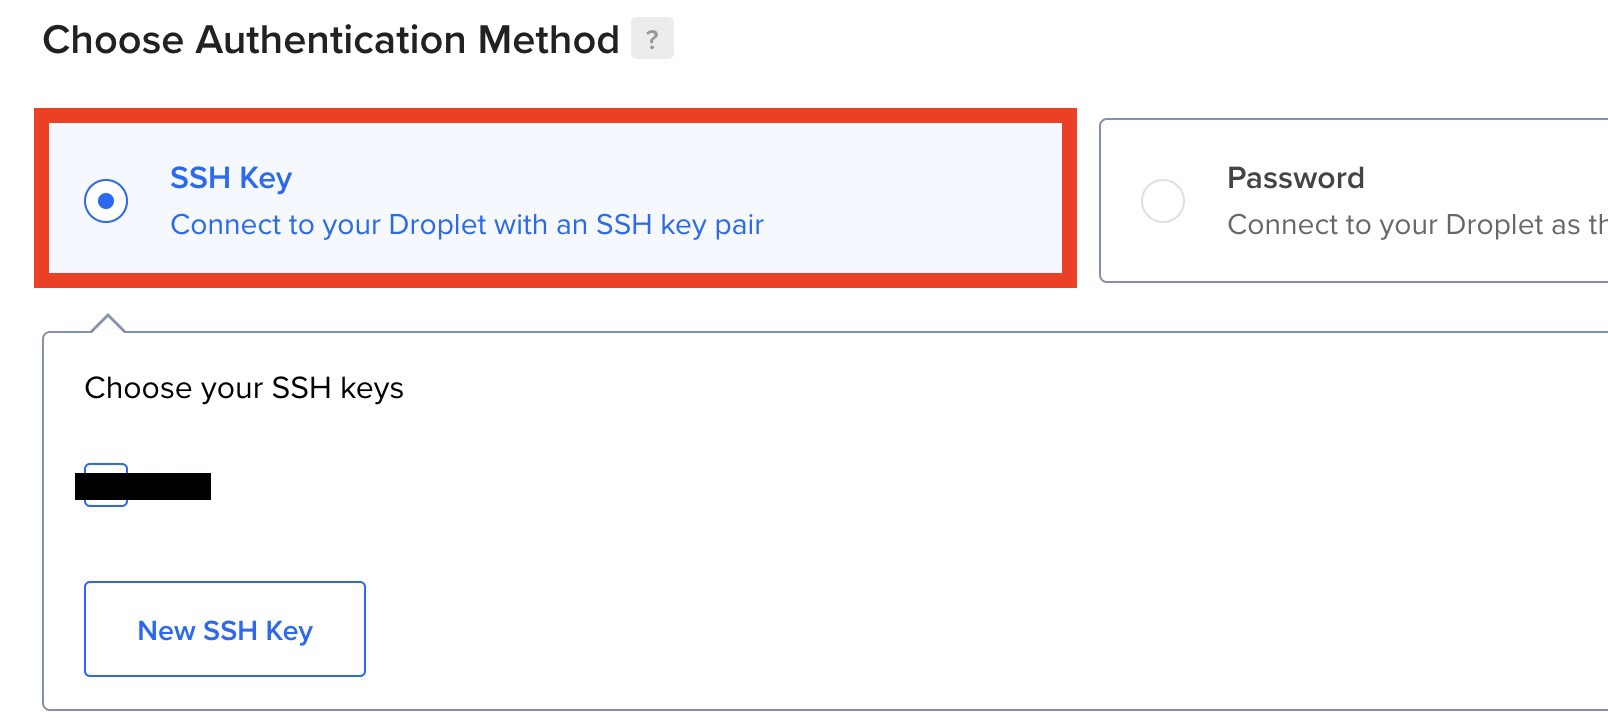
- For the authentication method, I suggest you to choose the SSH key since it’s more secure than a password.
- After filling in the last information like the hostname and the project, you can click on create a droplet
Set up a DNS record on your Cloudflare account that points to your server’s IP address
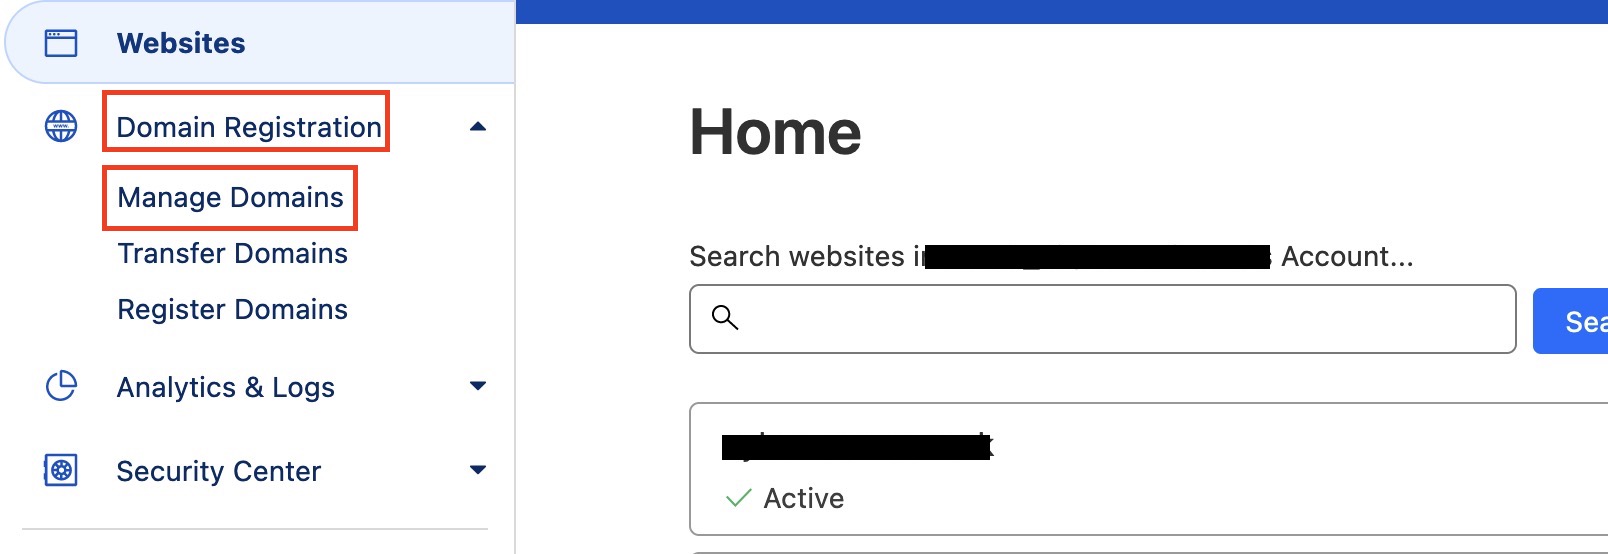
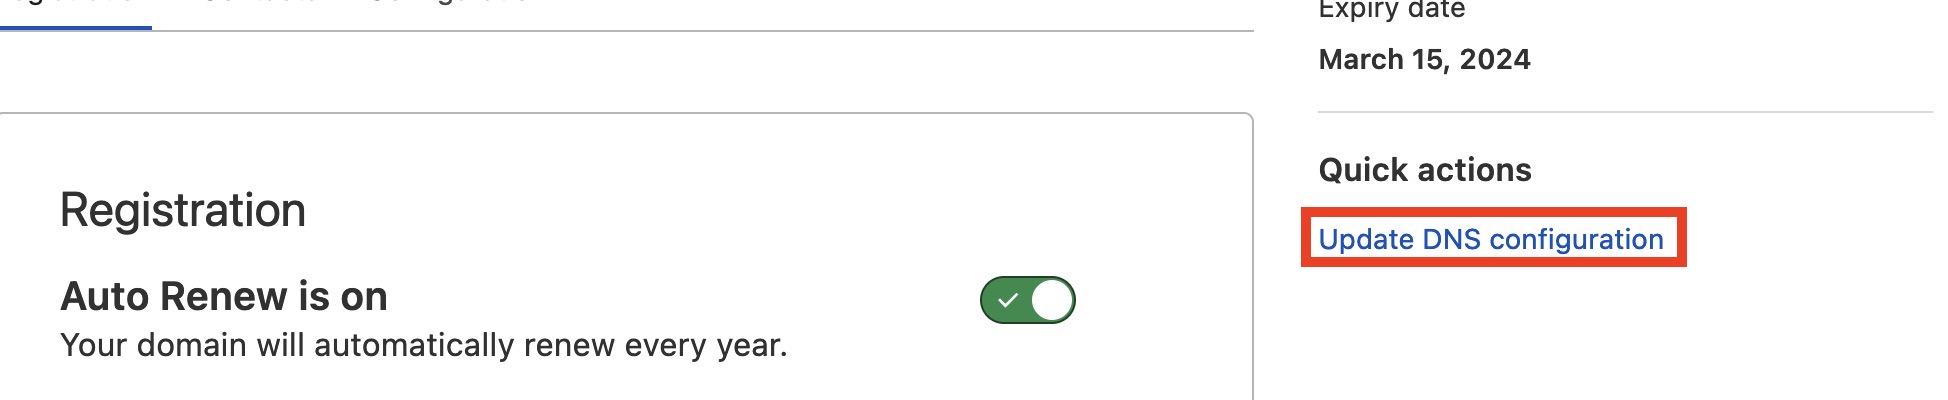
- On the left panel, click on the Domain Registration tab and then on Manage Domains
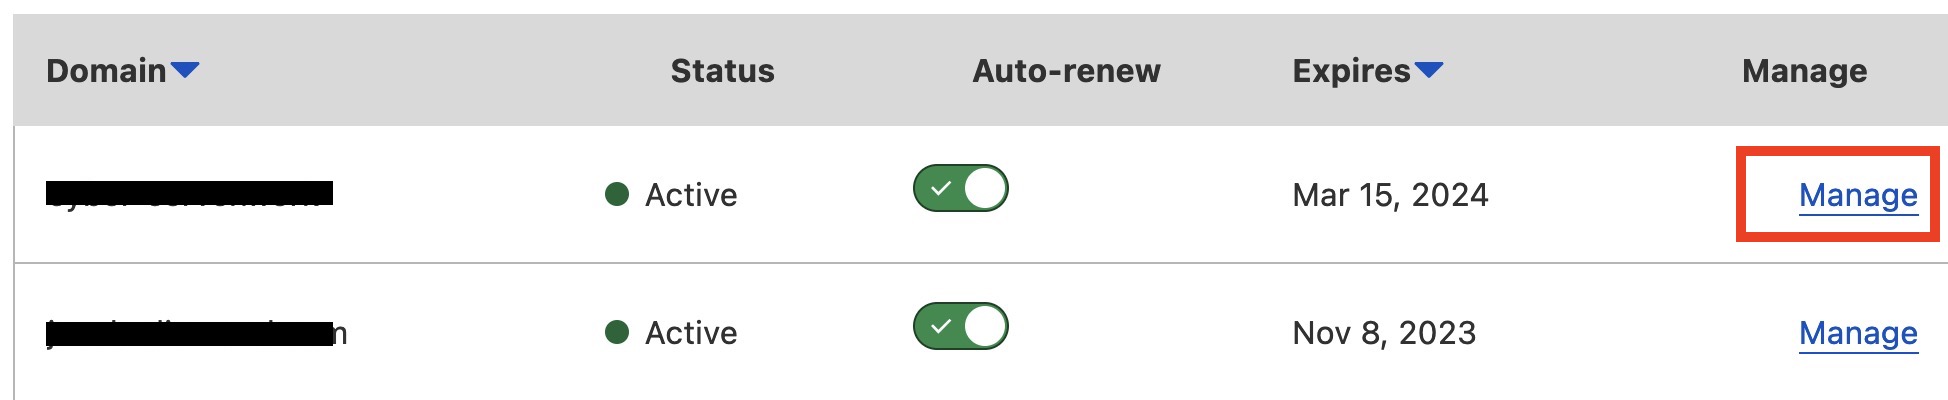
- Click on manage on the chosen domain
- Click on Update DNS configuration
- Click on Add record

- Leave type has A, if you want www add www to the Name or write @ to use your domain as root. To finish add the IPv4 address of your server.
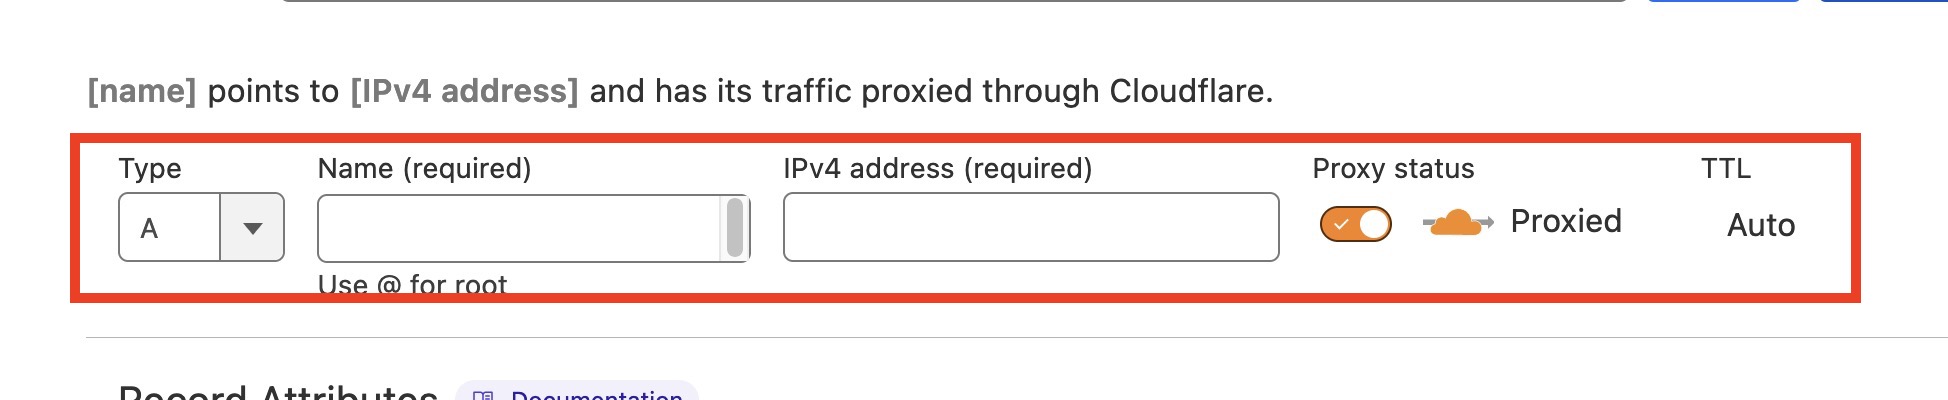
- Click on save
- To test if the DNS configuration work, you can start a python server on your server with this command:
python3 -m http.server 80 - navigate to your url and if you see the folder tree of your server it means that the configuration has worked. Close the python server
Preparation of your local machine and your server
- To prepare your local machine, you must install the configuration and install the following packages. To do this, do the following commands
sudo apt install -y git build-essential apt-utils cmake libfontconfig1 libglu1-mesa-dev libgtest-dev libspdlog-dev libboost-all-dev libncurses5-dev libgdbm-dev libssl-dev libreadline-dev libffi-dev libsqlite3-dev libbz2-dev mesa-common-dev qtbase5-dev qtchooser qt5-qmake qtbase5-dev-tools libqt5websockets5 libqt5websockets5-dev qtdeclarative5-dev golang-go qtbase5-dev libqt5websockets5-dev libspdlog-dev python3-dev libboost-all-dev mingw-w64 nasmecho 'deb http://ftp.de.debian.org/debian bookworm main' >> /etc/apt/sources.listsudo apt updatesudo apt install python3-dev python3.10-dev libpython3.10 libpython3.10-dev python3.10
Install Havoc teamclient
- git clone havoc on your local machine with this command
git clone https://github.com/HavocFramework/Havoc.git - In the “Havoc/Client” folder, do the command make to compile and build the final executable
cd Havoc/Clientmake
Install Havoc Teamserver
- git clone havoc on your server with this command
git clone https://github.com/HavocFramework/Havoc.git - Install the additional Go dependencies:
cd Havoc/Teamservergo mod download golang.org/x/sysgo mod download github.com/ugorji/go - Build the Team Server
cd Teamserver./Install.shmake - You can see how to use Teamserver with this command:
./teamserver -h
Setup your profile
- On your server, setup your profile in this file “./profiles/havoc.yaotl”
sudo nano /Havoc/Teamserver/profiles/havoc.yaotl - Set up your domain, your user and password
Your are now ready to start
- On your Teamserver in the Teamserver folder, make this command:
sudo ./teamserver server --profile ./profiles/havoc.yaotl -v --debug - On your team machine in the Client folder, make this command:
./Havoc - A window will then open and ask you to enter the informations of your profile.

Havoc Quick Ride
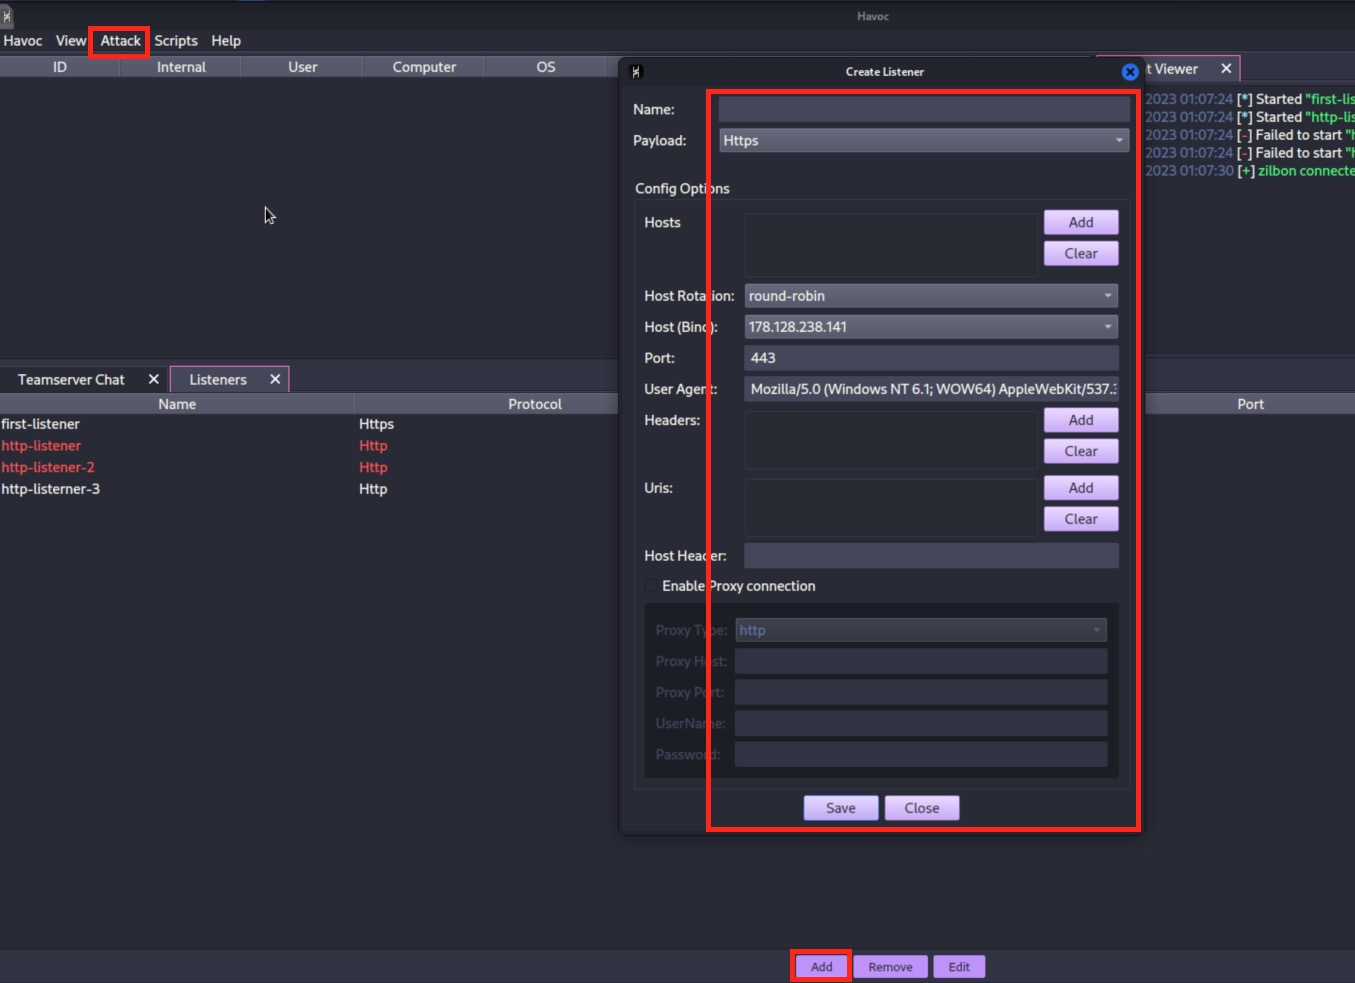
Listener
- You can create a listener by going to the View –> Listeners tab at the top left
- Then at the bottom, you can click on add. You can then choose the type of lister, add hosts, etc.
Payload
- You can create a listener by going to the Attack –> Payload tab at the top left
- You can then make the necessary configuration for your paylaod

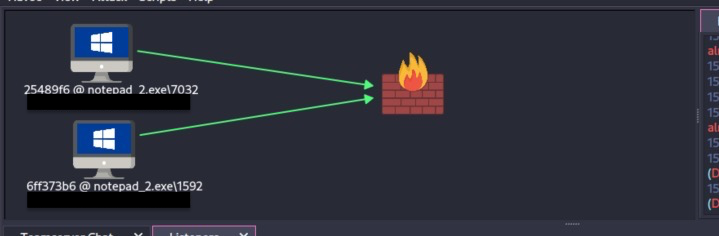
Sessions/Agents
- You can see your Sessions in the sessions view tab
- You can visualize them in Graph or in table